So Kill Team is an opportunity to bag a whole new game system relatively quickly. You can read my thoughts on it in more detail, including ‘Why Grey Knights’ here.
Even though I want the Grey Knights done quickly, I want them to look good (doesn’t everyone?) so some principles:
- The Metals will be TMM not NMM. However, I don’t want to just ‘Leadbelcher > Nuln Oil > Necron Compound’ them. The art for GK shows they have this subtle blue sheen in their armour. Steel is also reflective of a few different colours, I’ll try and work these in too
- I want the finish in the armour to be highly reflective, I think it’s visually very interesting and scales well
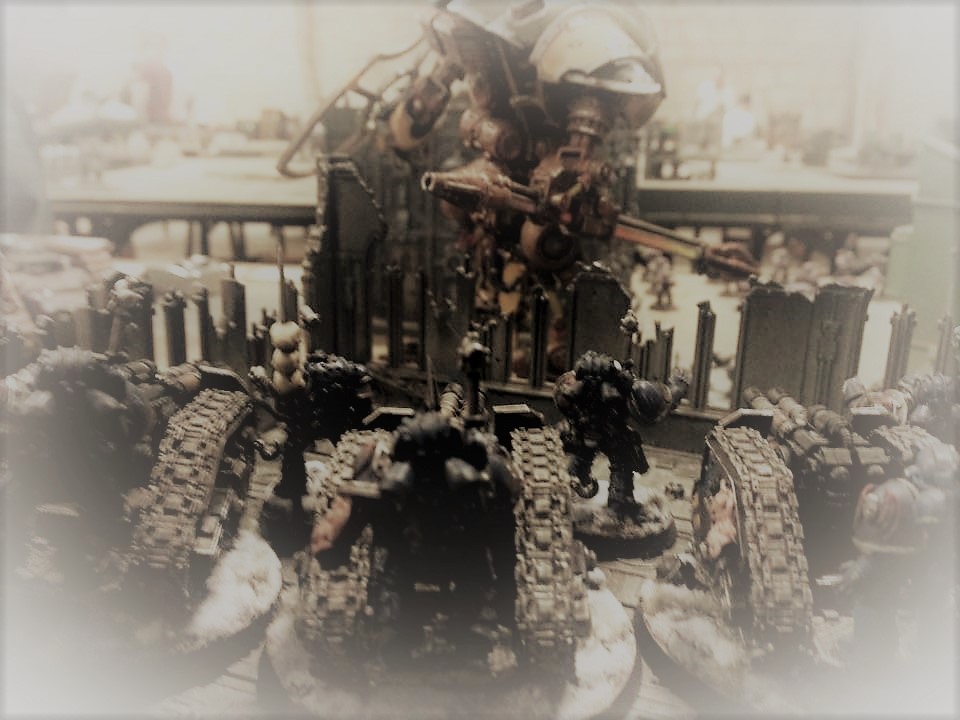
So, let’s get to it. There’s a little bit of blurb about the building process here but since then the building has been progressed to this stage:

So there are various parts that need painting separately and assembling once the bodies are finished. I’ve used the following techniques a few times. I’m no Slayer Sword winner but if you want shiny armour with some different colour interest read on (and get your airbrush out).
- The initial Primer. I use Vallejo grey primer. One coat shows me all the mould lines I missed (the backpacks here). Once these have been scraped back, another light coat gives me an even coverage of a good, smooth primer

- The gloss undercoat. To get a really shiny surface, I use a gloss undercoat. Two coats of this, thinned.

- The first steel layer. This is the basecoat so it’s worth taking some time here. This was one drop of Daler Rowney Paynes Grey ink to one drop of Vallejo Game Ink to five drops of Vallejo Metal Color Silver. This was then thinned 50-50 with Vallejo thinners. It’s better for this base coat to be darker than you want the final effect so you can build up highlights. However, the point here is not just to find a dark metal (you could use one off the shelf) it’s to darken a metal colour with other colours to make sure you’re adding visual interest to each layer.

- Airbrushing the shadows. There will be some brush work to add colour to the deepest shadows so this step was fairly simple. It’s just a case of spraying Vallejo Game Air Gunmetal to the shadow areas (under the legs, the bottom of the back pack etc.)

- Airbrushing the highlights. Using a light touch I then put highlights (Vallejo Model Colour White Aluminium) on the very tops of the backpack, the toes and any other immediately obvious area.

- Pushing the visual interest. Ok so I’ve now got some very shiny Grey Knights with a transition from dark shadows to white highlights through a steel base with some black and blue colour interest. Now I push this by adding some inks to the shadows. It’s important to thin the inks heavily – they’re extremely saturated. The first one is Burnt Umber (mine’s a Daler Rowney ink). This goes in most of the shadow areas with a second coat further towards the darkest area. The second stage is a Paynes Grey layer, further into the shadows with a final coat in the very deepest areas. It takes some time and the effect isn’t huge but it makes a big difference:

- The Blue. So we’re getting close to the end now. The metal colour looks really good, I’m pleased with it. But I do want to add the blue sheen. For this I’m using Tamiya Blue Clear thinned down 10:1 thinner to paint (yes you read that correctly). Two layers of that gives me this:

- The final touch. Ok so now I’ve got some rich steel colour with deep shadows and some strong visual interest all topped off with the blue sheen. Now I just want to draw the shine out as much as I can. This is two coats of Vallejo Metal Varnish thinned 50-50.

All the parts have been brought up to this level now. The nest step is the weird gold ares on the bodies (the names) which I want to pick out in gold. I’ll post a little tutorial for that, glue them all together then finish them off.
Comments and queries always welcome.