
I’ve already written a piece on prepping a miniature for your best result (you can find it here). That was with specific reference to single miniatures but describes why priming is more complex than laying down a single colour. Effectively, I’m describing zenithal priming; creating a monochrome value sketch to help the next stages of paint pop. Well today I went ahead and primed all of the mounts in my Ogor Mawtribes army. The big difference is that for the army I’m priming with an airbrush. It’s a bit different to priming single miniatures with a brush and I’ll also do something that I don’t really like doing (no, not that you creep); I’ll give you some specific recipes for paint and additives. This relies on you also using Vallejo for all of this (as I do). Don’t blame me if these ratios are all wrong for other brands.
So where am I starting from?
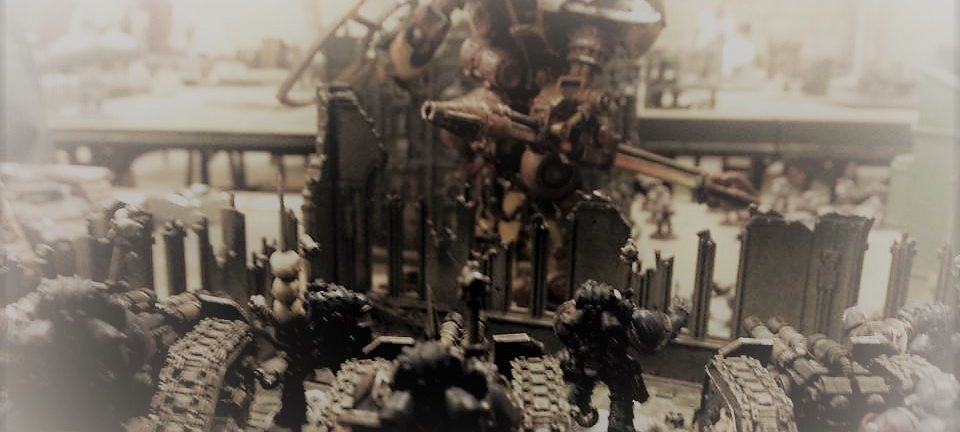
My OM army is built and pre-primed (a stage I invented because mould lines only seem to show up when you put paint on a miniature so I added a paint step just to show up mould lines). You can see them here actually. They’re basically ready for priming with an airbrush.
What do I use for priming with an airbrush?
I’ve basically got a fairly short list of items for priming with an airbrush and I don’t deviate:

- An airbrush and compressor (duh). You can get pretty close to this with rattle cans, I’m not a snob about it – whatever works for you.
- Vallejo airbrush thinner
- Airbrush cleaner from Vallejo
- Flow improver (from guess who…)
- Primers Black (not the gloss one), Grey and White (all Vallejo)
I got most of this stuff from Element Games but there is a bit of a crunch on Vallejo paints at the moment, they are quite hard to get hold of so you might have to be patient.
Before it all kicks off…
This is not a tutorial on how to clean your airbrush or how to use an airbrush. I do, however, have a couple of bits and bobs handy whenever I airbrush (not just priming with an airbrush).
- Dropper bottles into which I decant thinner and cleaner. I find the little bottles easier to control the flow
- kitchen roll
- little disposable paper cups
- a crappy paintbrush
Priming with an airbrush – under pressure?
I do also want to make a quick note on air pressures. Compared to other painters and other things I read on the internet, I use very low air pressure (and a 3mm needle for everything). All of the steps below were shot at around 8psi. I read a lot of stuff about people priming at 30+ psi. I just find that insane. Along with very low pressure, I also use very, very thin paint. The two go hand in hand for me.
If I used higher pressure with my paint mixes, I’d get spidering and pooling and the whole thing would go to shit. The key here is the thin paint. Get your paint thin (as per the ratios below if you’re using Vallejo) and the low pressure will follow. Thin paint is always good. It goes on smoother, it drys better, it looks better and it makes cleaning your airbrush easier. It’s an airbrush, not a fire hose – there’s no way it should be shooting at >10psi.
Priming with an airbrush – step one
Right, here it is. Step one to priming with an airbrush is a consistent, even coat (actually two coats) of black primer, all over the model. If you are using Vallejo primer AND Vallejo thinner AND Vallejo flow improver then my personal recipe for this stage is 8 parts thinner, 8 parts paint, 1 part flow improver. After two coats (it’s imperative you leave the first coat to dry before applying the second) you end up with this:

Priming with an airbrush – step two
Grab your dry, black primed miniatures and strap in. The next step is a grey coat, at approximately 45 degrees to the miniature from above. What you’ll get is a black miniature if you look at it from the bottom, a grey miniature if you look at it from the top and a mixture of the two when you look horizontally. Kind of like this:

The ratios are the same for this step as step one: 8 parts thinner, 8 parts paint, 1 part flow improver. Crucially, you only need one coat of the grey or you’ll cover too much of the black.
Priming with an airbrush step three
This shouldn’t be too much of a shock but there is a small change in the ratios for the next step so pay attention! Once the grey coat is dry, take your white paint in a ratio of 8 parts thinner, 10 parts paint, 1 part flow improver (the white is less pigment dense than the other two colours so needs slightly more paint to thinner). The white then gets shot directly from above the miniature to catch the top of the model and the highest highlights. What you’ll be left with is this:

That’s it for priming with an airbrush
There are two more steps that you can find in my prepping tutorial. These guys will all get a dilute wash of some kind of brown (probably brown ink given how much coverage I need; it’ll cost a fortune in Agrax Earthshade!). Following that they’ll all get a light white dry brush on the highest areas to establish the most acute highlights again before the next stage.
Comments and queries always welcome!
One thought on “Priming with an airbrush.”